Category: Conservation
Published on: March 24th, 2021
Conservation Ideas for Kids
On rainy afternoons or chilly days at home, it can sometimes be tricky keeping the kids entertained. We get it, you can’t always enjoy a day out and don’t just want to hand them an iPad and watch them disappear to their bedroom. So, what can you do to keep them entertained with something that’s both fun and educational?
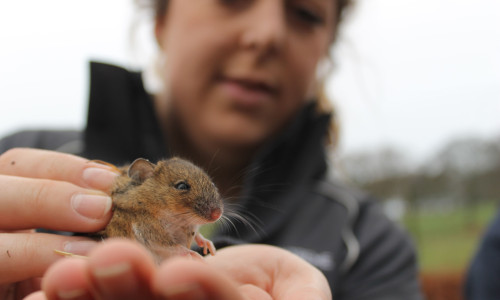
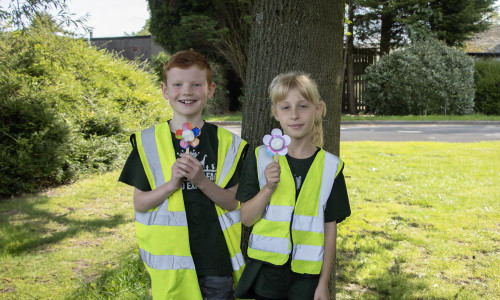
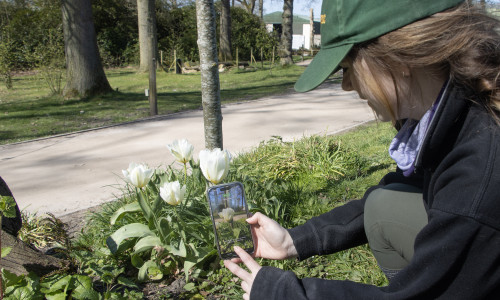
Animal conservation is a huge part of what we do at Knowsley Safari and there’s nothing we love more than sharing everything we know about our animals while you’re here for your visit.
What is conservation?
Quite simply, conservation is caring for and protecting nature and wildlife and the environment, so it can continue to be experienced by future generations. In the case of animals, this involves protecting endangered species to prevent them from extinction.
What can you do to help with conservation?
Of course, donations go a long way. Whether it is to a wildlife conservation trust or your local zoo or safari. But, if you don’t have the funds available to give a donation, start with education and always keep it fun.
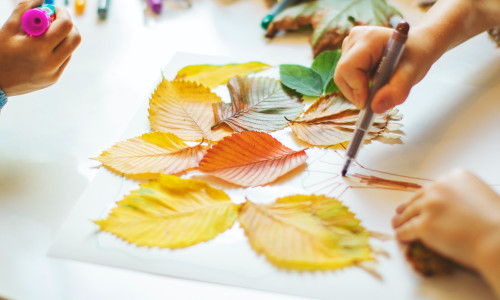
But what conservation activities can you do from the comfort of your own home? We’ve come up with some great conservation ideas for kids that you can do as a family. So, get your craft kits out and try some of these fun activities.
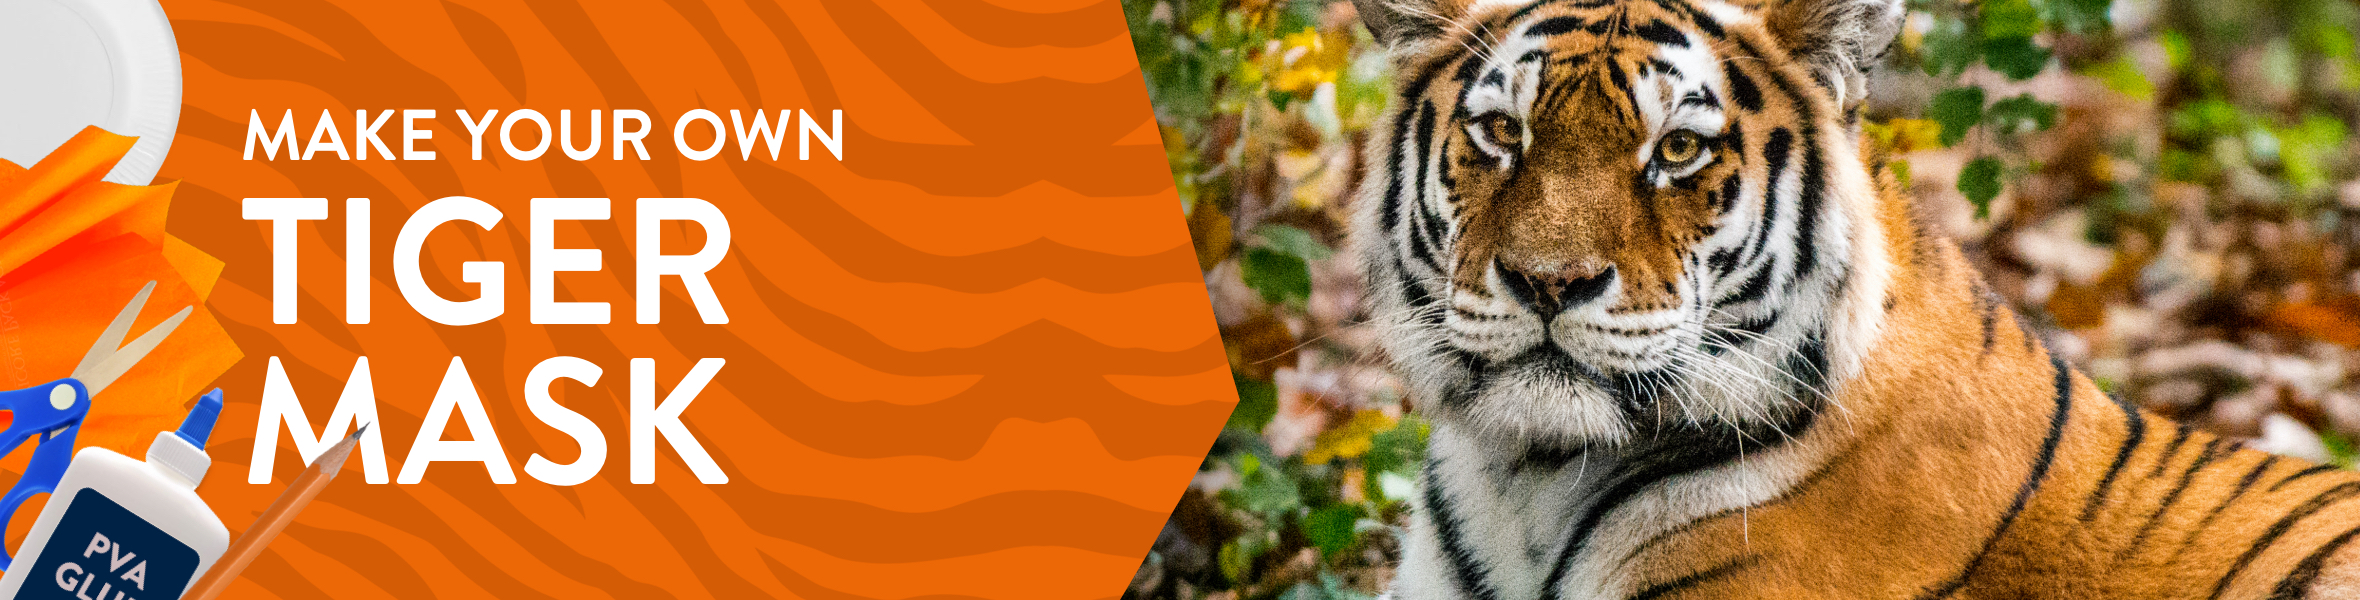 Tiger Mask
You don’t need to order a ready-made mask for your little one to become their favourite ferocious friend. All you need is the following bits and pieces to make your mask:
Paper plate
Orange tissue paper
Black tissue paper
PVA glue
White card
Scissors (get a grown-up to help)
Pencil
Then, either watch our video and follow each step or read the instructions below to make your tiger mask.
Rip the orange paper into small pieces
Cover the plate in PVA glue
Stick the orange paper to the plate until it is completely covered, with orange ruffles around the edges
Draw two semi-circles ear shapes on the white card and cut them out
Stick orange paper around the edges of the ears
Rip the black tissue paper up and stick it to the inside of the ears
Draw two eye shapes on the white card and cut them out
Use the black tissue paper to cut two circular pupils and stick them onto the eyes
Draw the nose and mouth onto the black tissue paper and cut them out
Stick the eyes, nose, mouth and ears onto your orange covered plate
Rip up more black tissue paper and stick it in a striped pattern across the mask
Break up the white card into tiny pieces and stick to the mask for finer details
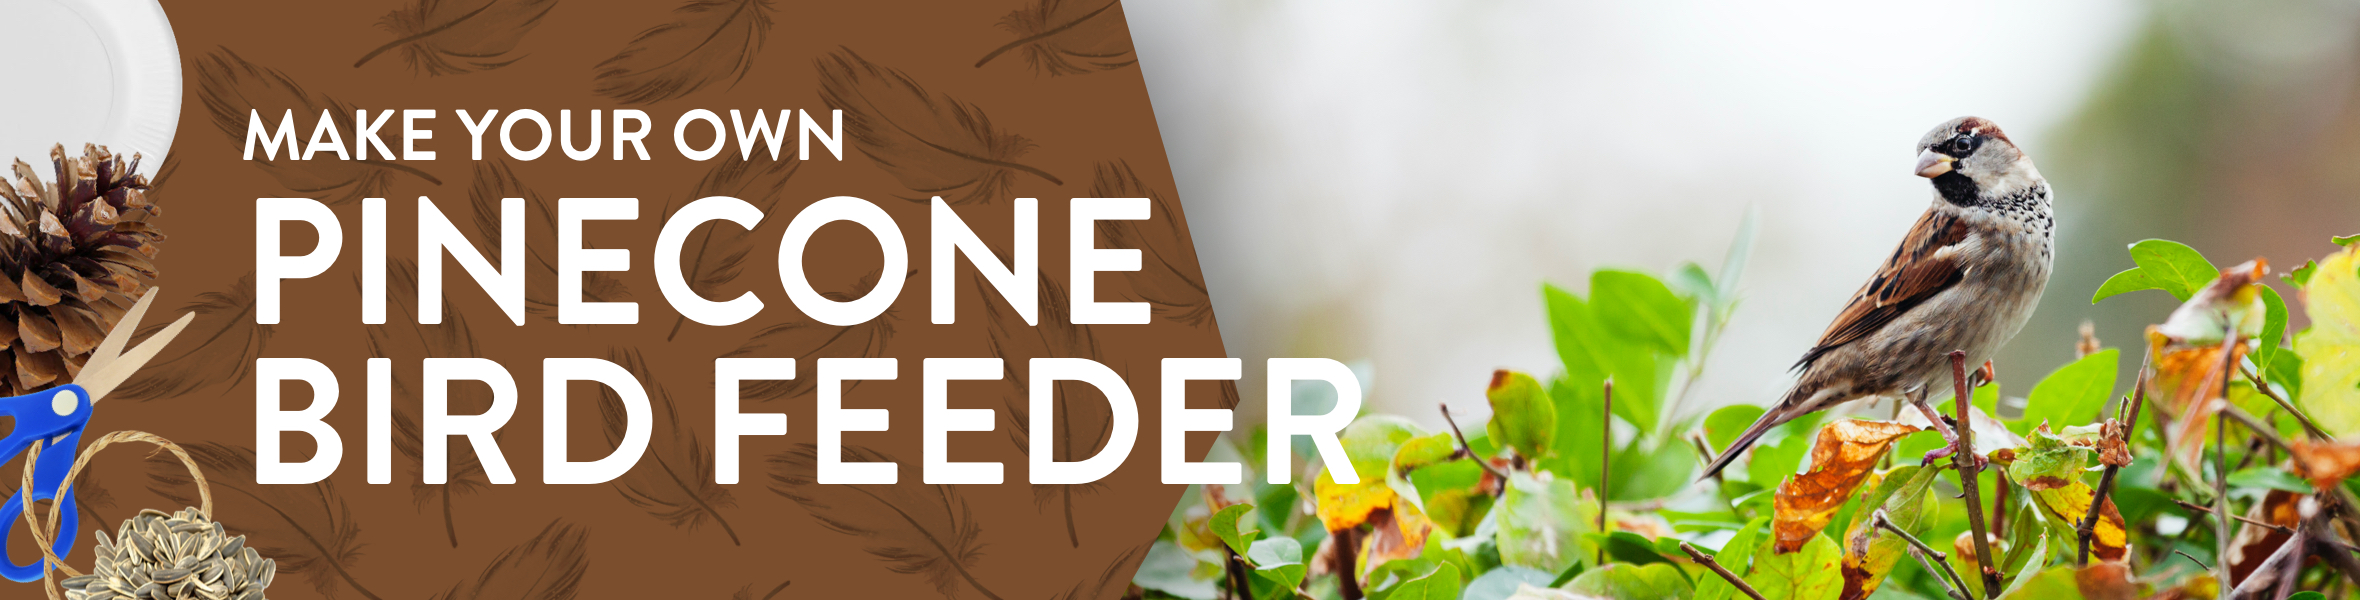 Pinecone Bird Feeder
Shop bought bird feeders are great for giving wild birds something to snack on, but you can create something much more sustainable by using a pinecone.
You’ll need:
A pinecone
2 plates
Lard
Birdseed
Scissors (get a grown-up to help)
String
Then, either watch our video and follow each step or read the instructions below to make your pinecone bird feeder.
Squash the lard on a plate so it is nice and soft
Take your pinecone and roll it in the lard and press it into the pinecone so it is completely covered
Pour the birdseed out on a second plate and roll the lard-covered pinecone in the birdseed until the birdseed has stuck
Take the scissors and cut around 30cm of string and tie it around the middle of the pine cone, in between the grooves
Tie a knot at the end of the string to create a loop and hang it from a branch in your garden
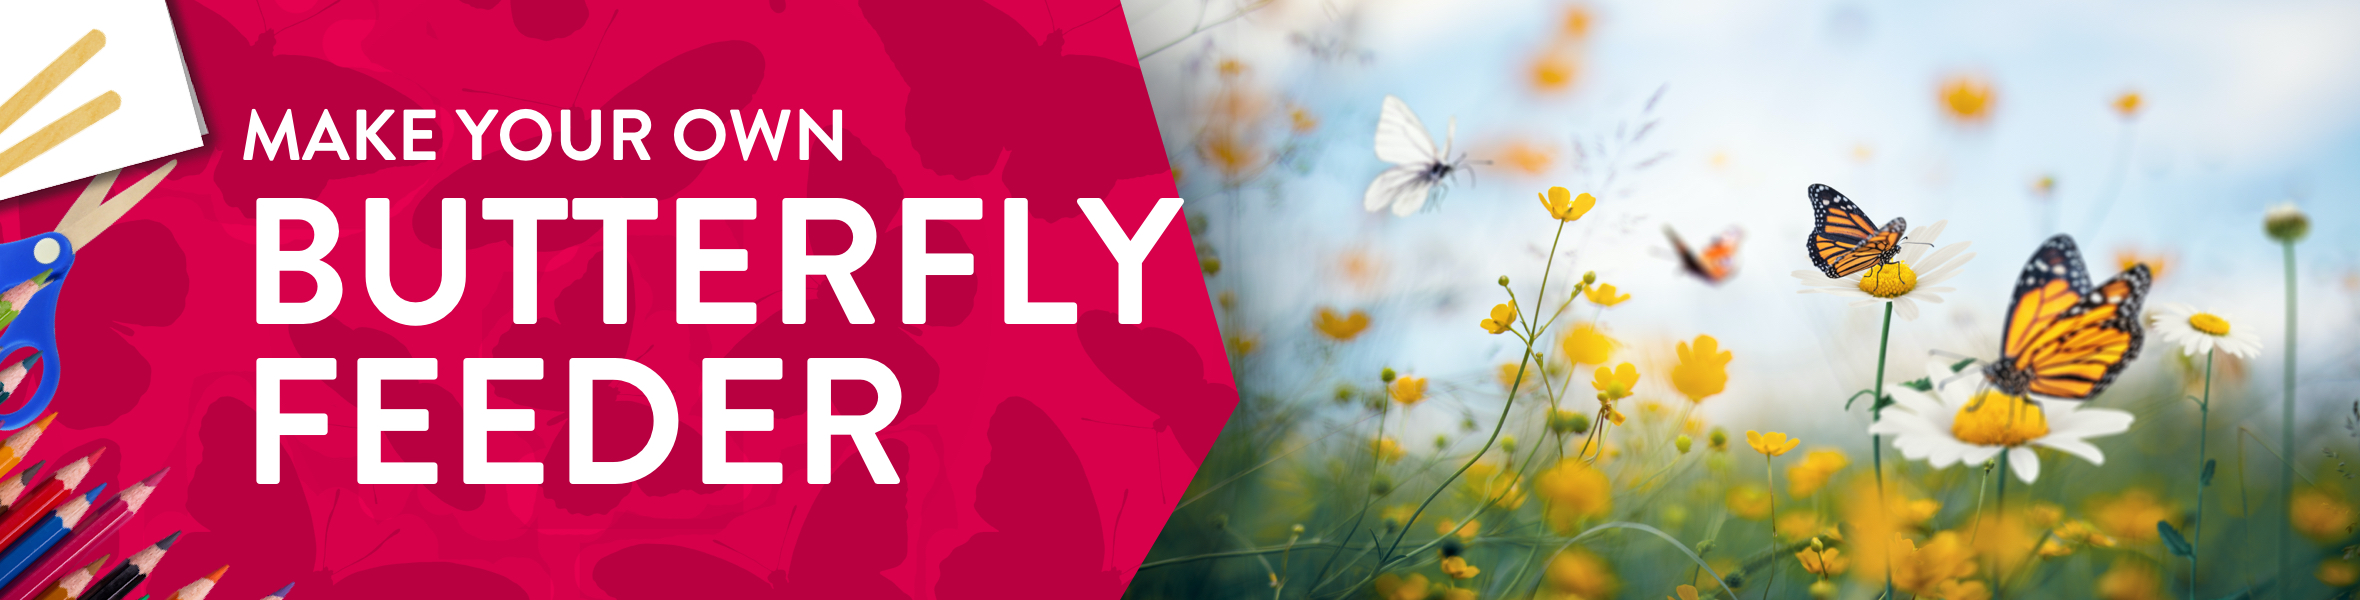 Butterfly Feeder
Probably less common than other animal feeders, butterflies need taking care of too! The best thing for butterflies is to plant flowers that are good for pollinators. But, if you’re looking for an easy activity to introduce little ones to butterflies follow these simple steps to create your very own butterfly feeder.
You’ll need:
Plain white paper
Scissors (get a grown-up to help)
Coloured pens and pencils
Bottle top
Double-sided tape
Lolly stick
Sugared water
Cotton wool balls
Then, either watch our video and follow each step or read the instructions below to make your butterfly feeder.
Cut out a flower shape from the white paper and colour it in
Stick the double-sided tape to the top of the bottle top then unpeel the other sticker and fix it to the centre of the flower
Using another piece of double-sided tape, stick it to the lolly stick and attach it to the back of the flower
Dip a cotton wool ball in the sugared water then squeeze out the excess water and press the cotton wall ball into the bottle cap
Take your flower into the garden and stick it in the soil for the butterflies to enjoy
Next, look up some good plants for butterflies and other pollinators and try to grow them from seeds!
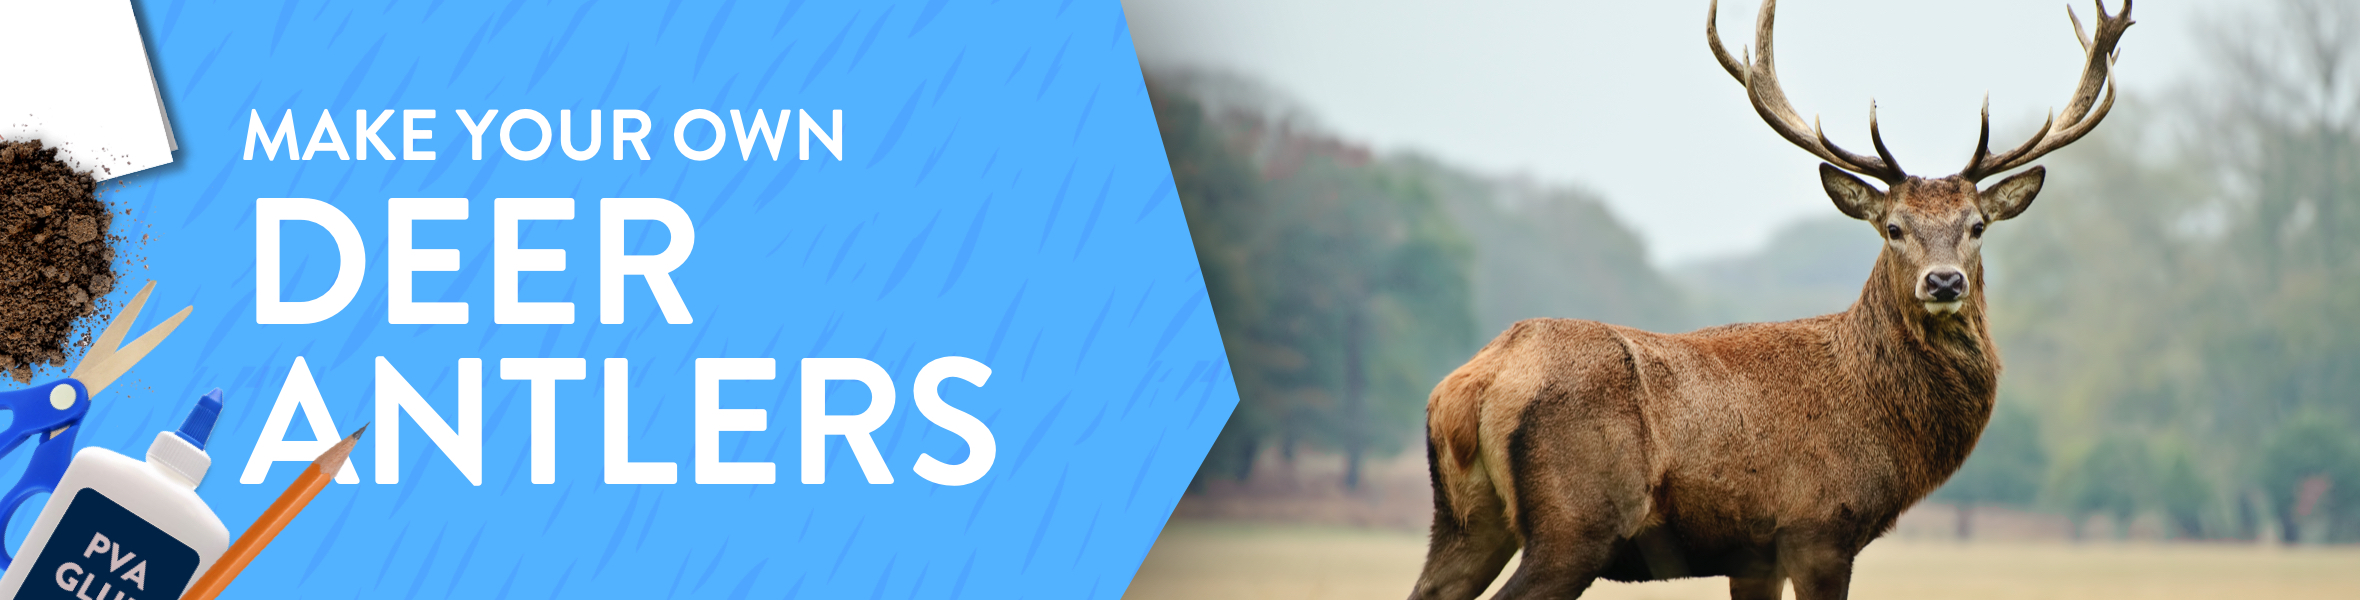 Deer Antlers
Another fun crafty activity you can do at home is to make some deer antlers. Not only are they super cute, but they’re really easy to create too.
You’ll need:
White card
Pencil
Scissors (get a grown-up to help)
Newspaper
PVA glue
Brown paint and brush
Soil
Stapler
Then, either watch our video and follow each step or read the instructions below to make your deer antlers.
Draw and cut out two antlers on a white piece of card and cut them out
Rip up a few small pieces of newspaper and scrunch them up
Stick the crumpled newspaper to the antlers using PVA glue to add some texture and let it dry
Paint over the whole of the antler using brown paint and let it dry
Mix some PVA glue and soil then use your fingers to spread the mixture over the antlers
While the antlers are still wet, crumple up some leaves and twigs and stick them to the edges of the antlers
Cut out two thin strips of white card and staple them together to make one long piece
Measure the card around your child’s head and staple the ends together so it forms a circular headband
Finally, take your antlers and staple these to the front of the headband
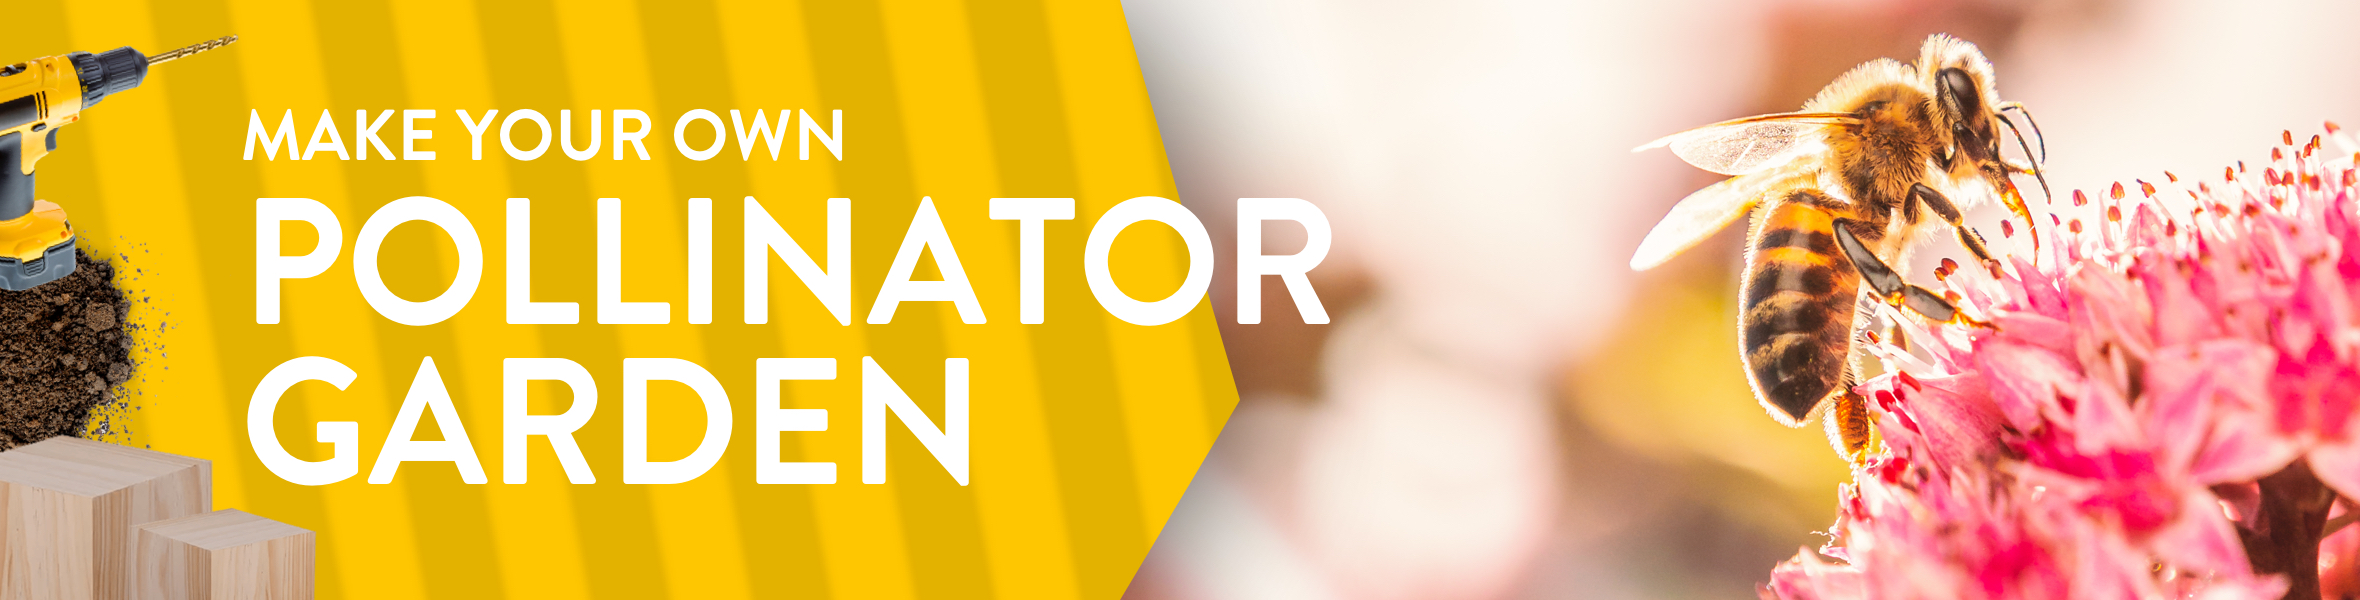 Pollinator Garden
We all know how important it is to save the bees, and other pollinators, so create your own bee haven in the back garden with just a few tools.
You’ll need:
A garden
Native plants with plenty of nectar that bloom from spring to autumn
A garden bed with plenty of soil and moisture
Ice cream tub lid
Water
1 large and 1 small block of wood
Drill (get a grown-up to do this bit)
Choose a space with enough soil and exposure to sunlight and make sure it is away from foot traffic
Plant nectar-rich plants which will attract pollinators to your garden
Take your ice cream lid and fill it with a shallow level of water and leave it close to where the bees live. You may need to top this up every day
Using the drill, drill multiple 1 ½ inch holes into the widest face of the large block of wood. This will create little homes for the bees to live in
Prop the large block of wood up vertically against a tree or fence and rest the smaller block of wood along the top surface to create a shelter from the weather
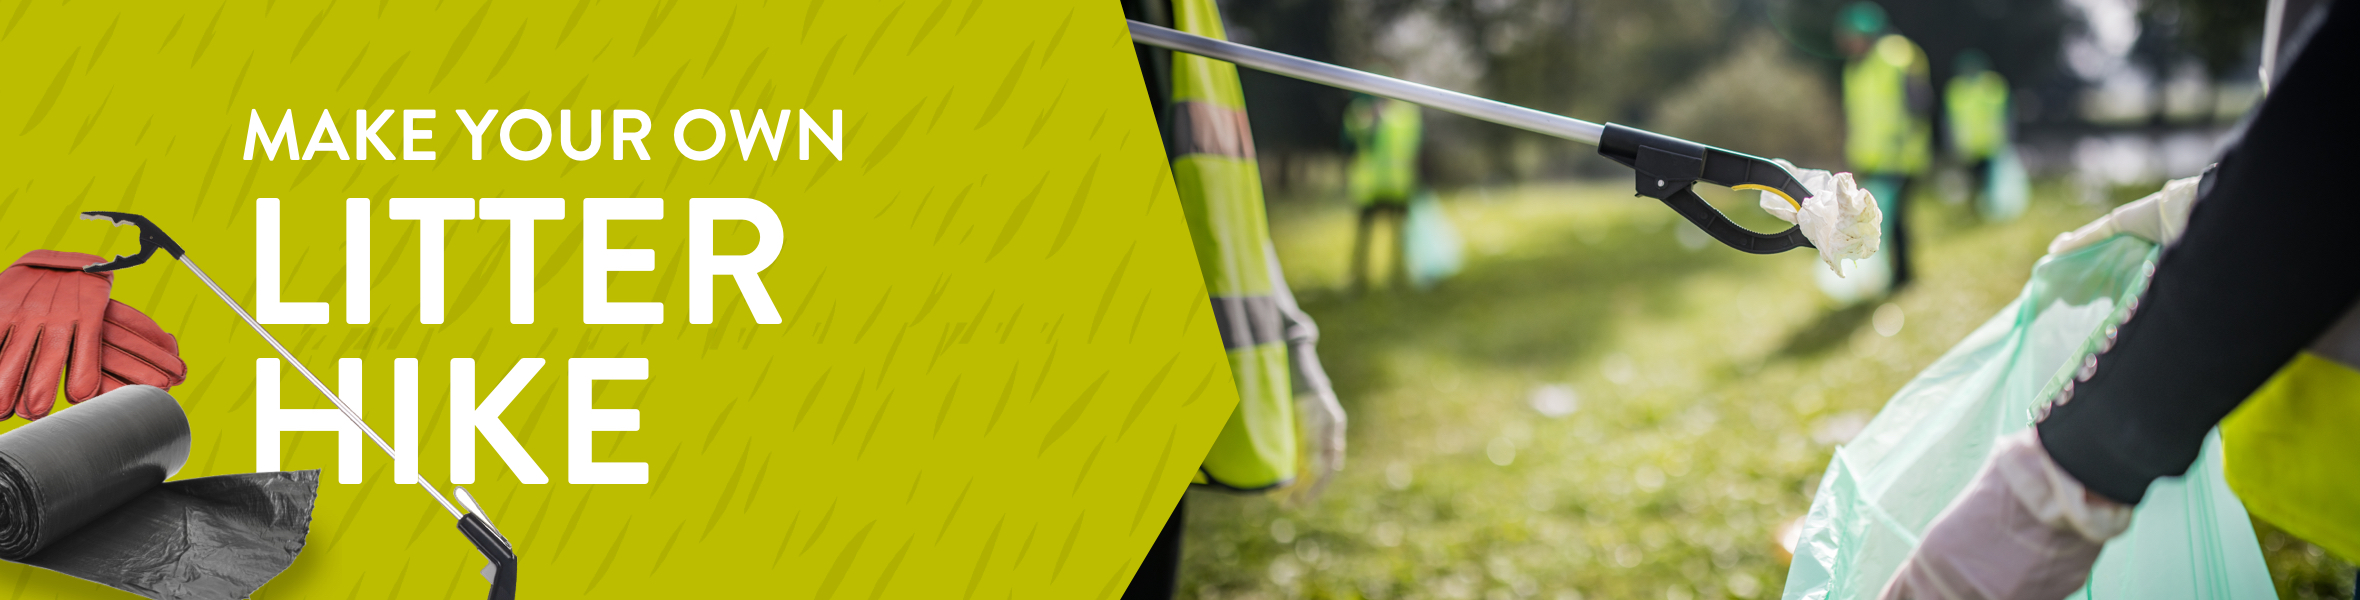 Litter Hike
This one is really simple, cheap and easy to replicate again and again. Not only will you be doing a favour to the environment, but also everyone else who walks around littered areas.
You’ll need:
Bin bags
Gloves
Old or messy clothing
Litter picker (optional)
Choose a location for litter picking. This could be the park, beach, woods or around your local neighbourhood
Wear suitable clothing. If you’re heading somewhere muddy, you may need wellies and a waterproof jacket and be sure to wear old clothes that you don’t mind getting messy
Head to the place where you have chosen for your litter hike. Put on your gloves, open up your bin bag and have your litter picker at the ready
Whilst you are walking around, pick up all of the litter you see on the floor and put it into the bin bag
Continue collecting litter until the bag is full then tie the opening of the bag and dispose of it in a rubbish bin
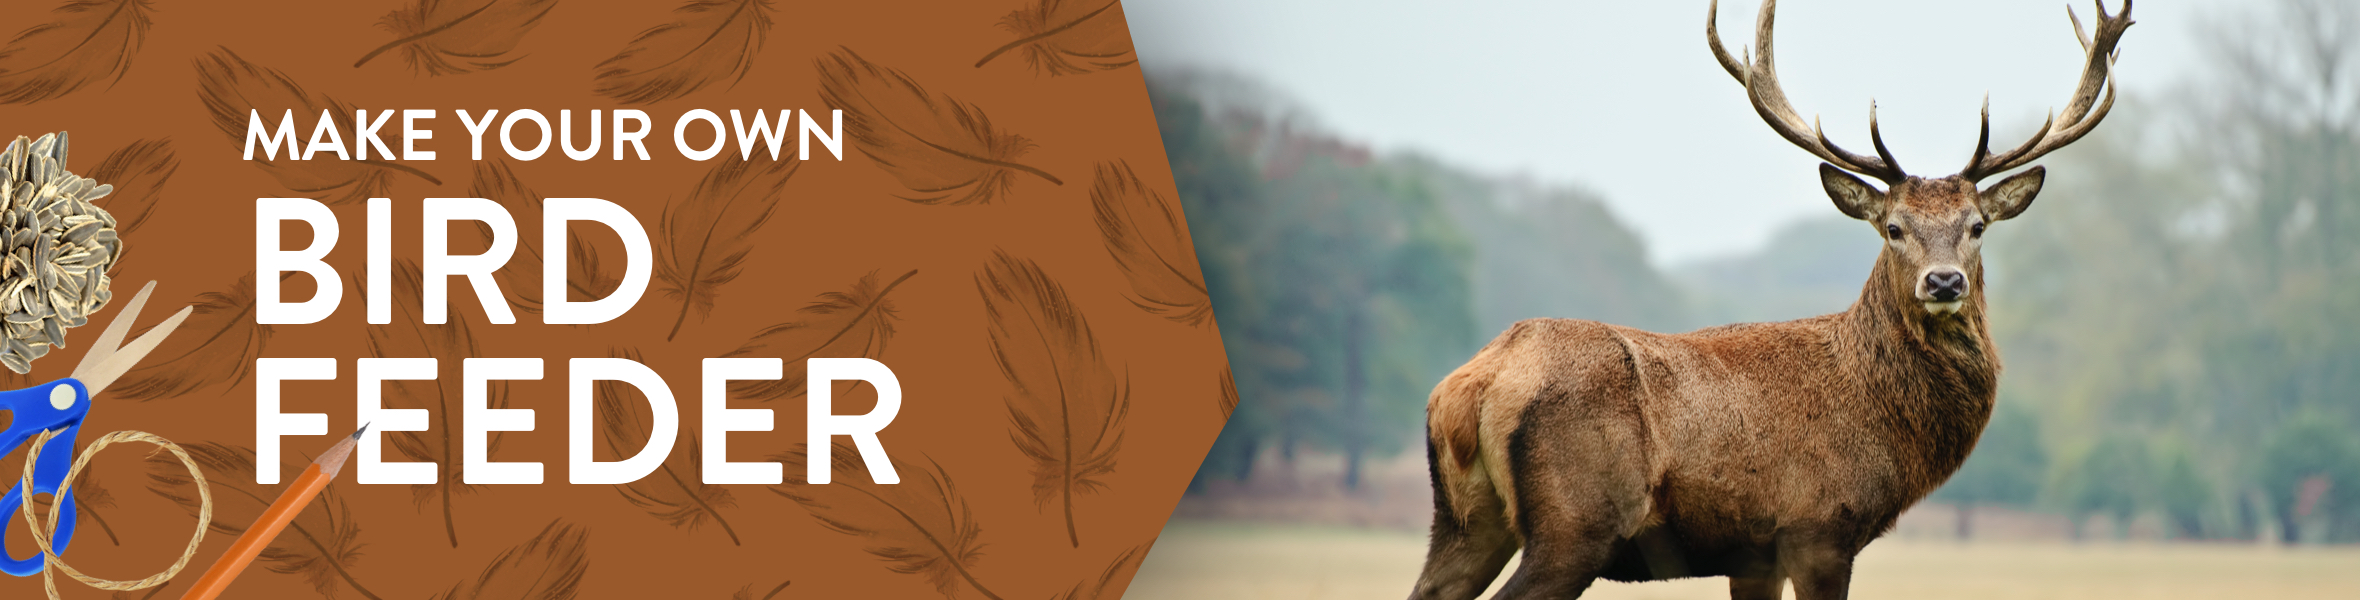 Bird Feeder
You don’t need to buy a big wooden bird feeder to add to your garden to ensure the birds have something to eat. This super simple bird feeder couldn’t be easier.
You’ll need:
Egg carton
Scissors (get a grown-up to help)
String
Bird seed
Pencil
Ruler or tape measure
Take the egg carton and cut the lid off using the scissors so you are left with the part that holds the eggs
Using a pencil (get a grown-up to help), poke a hole in each corner of the egg carton, near the top, at least half a centimetre away from the edge
Measure out two pieces of string, around 50cm in length each, and cut these from the reel
Take one piece of string and loop it through the hole in the corner of the egg box then follow the longer straight edge of the box and tie the other end of the string to that corner
Repeat with the other piece of string so you have two matching loops that form a handle
Fill each egg holder with bird seed and take your feeder outside to hang on a washing line or the branch of a tree
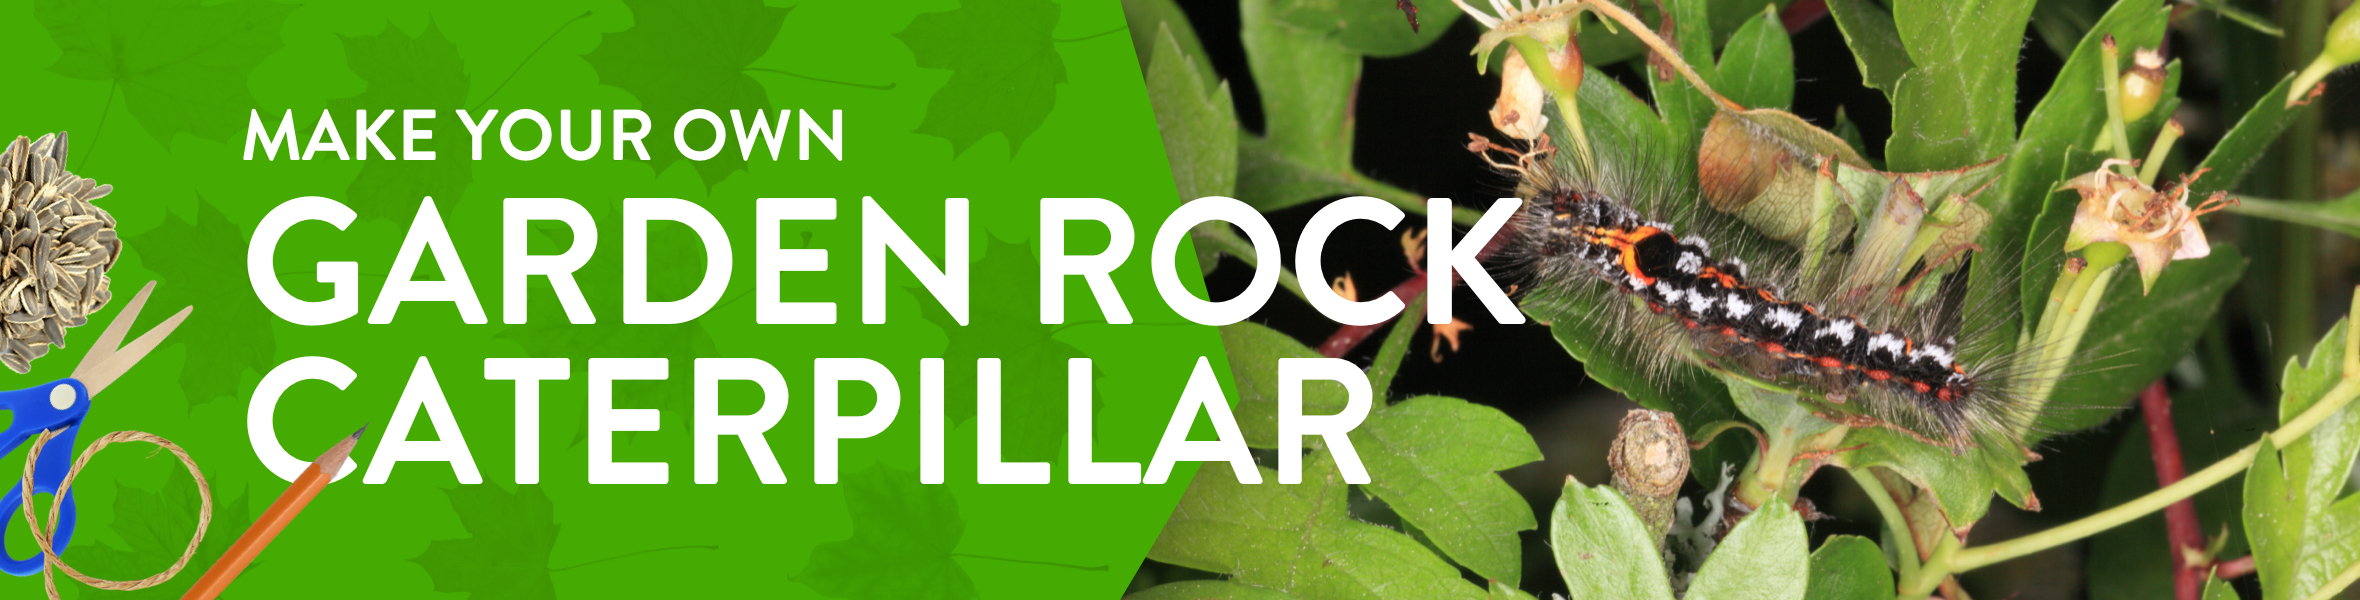 Garden Rock Caterpillar
Add this cute and colourful friend to your garden to make a fun garden feature that the kids can be proud of.
You’ll need:
Rocks
Waterproof craft paint for stones
Glue gun
Two sticks
Go on a nature walk and some collect big pebbles to build your caterpillar’s body, smaller pebbles for the feet and two sticks for the antennae
Set up your craft station and using different coloured paints, decorate the pebbles with different coloured patterns, not forgetting the face
Take the two sticks and paint a pattern on them for the antennae then use the glue gun to stick them to the head of the caterpillar
Still using the hot glue gun, stick the smaller pebbles to the body of the caterpillar to make the feet
Finally, take the caterpillar outside and stack in position in the garden
Conservation Tips
While you and your little ones are busy crafting, why not share some of these fun conservation tips? After all, they’re the ones who will be conserving the future.
1. Recycle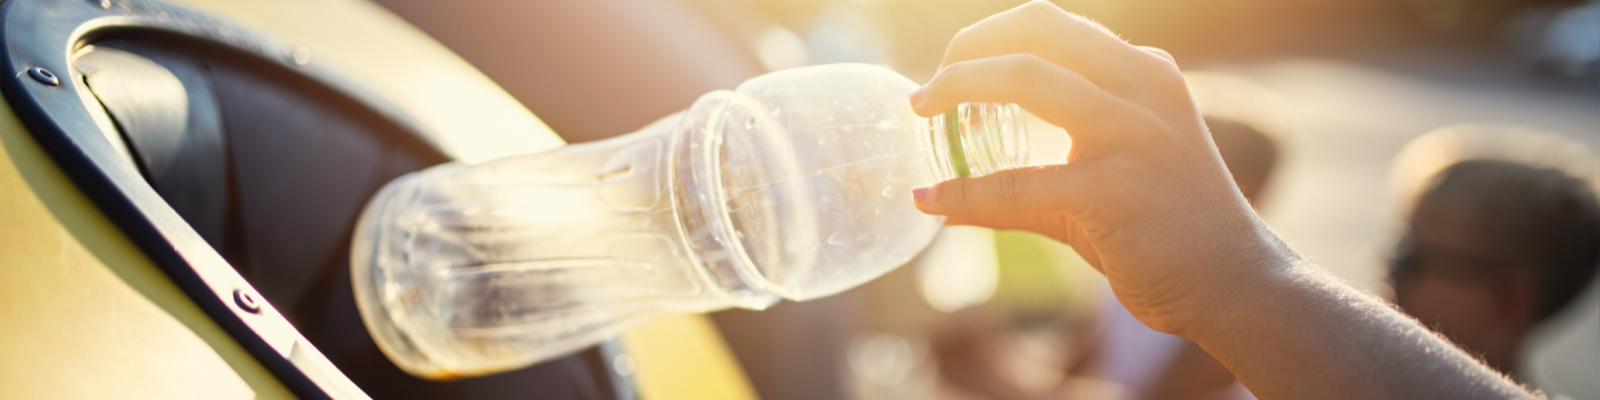 Separate cardboard, plastics, metals and glass before putting them in the bin. You could set up bags or boxes in the house and encourage the kids to separate each material into different bags and take them to the recycling centre together.
2. Reduce single-use plastic
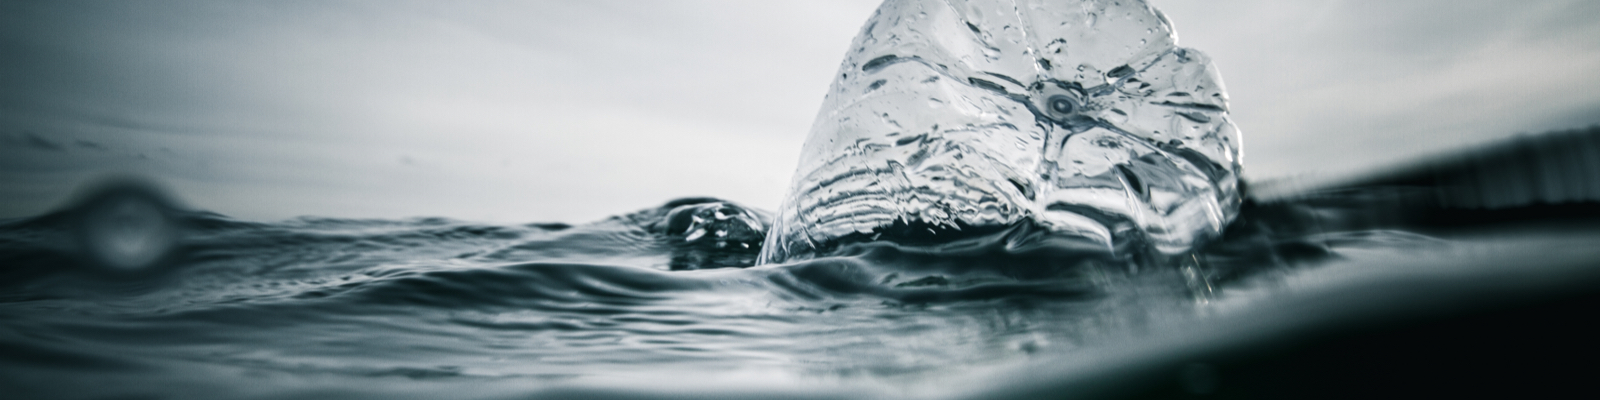 Whether it is a plastic bag or grabbing a bottle of water on the go, single-use plastic often ends up in landfill or the ocean and can take up to 1,000 years to decompose! So, why not buy a reusable bottle for each family member as well as reusable cotton bags you can fold up and take out when you go shopping.
3. Save water and energy
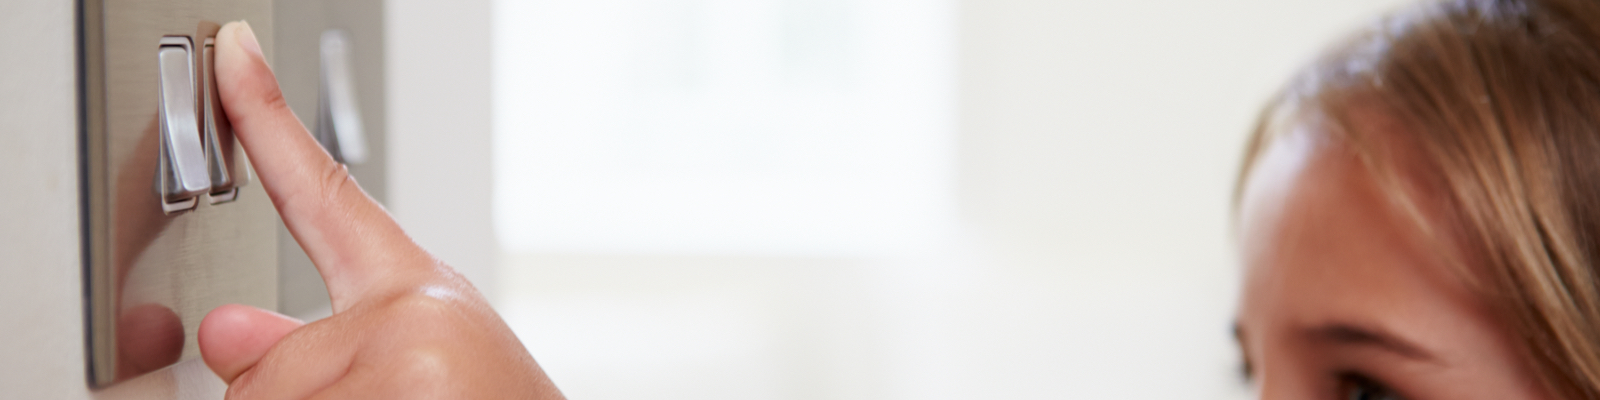 If you’re not using the water or you are leaving a room, just turn the taps and light switches off. Not only can this save you money as you will be using less water and electricity, but it is also better for the environment as you will waste less energy.
4. Use the car less
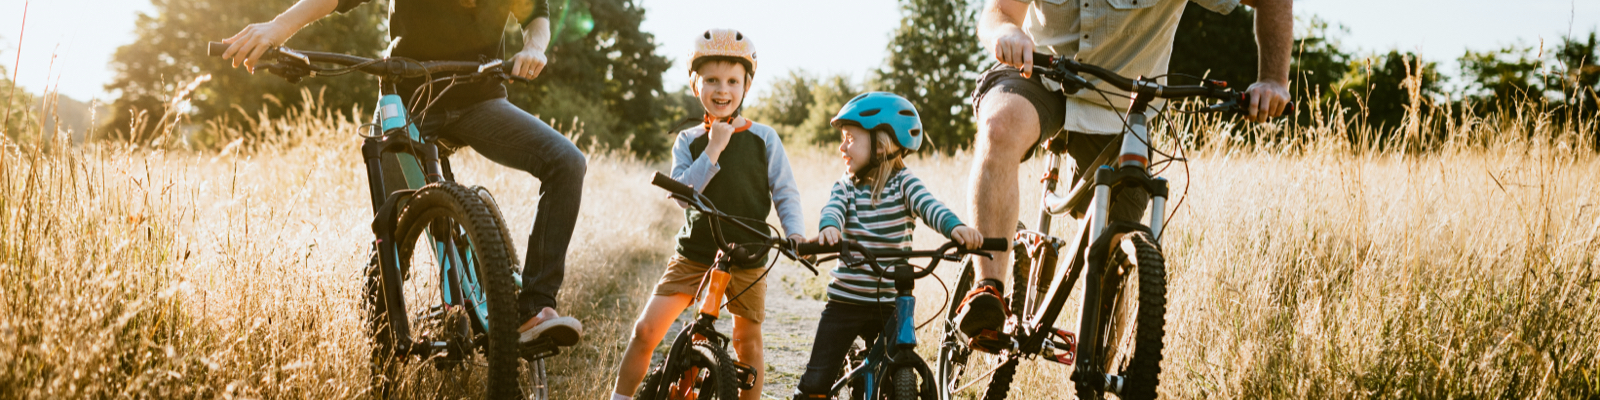 Walk, cycle or take public transport. You don’t need to take the car everywhere and it can be damaging to the environment to use the car all of the time, especially on short journeys when you don’t really need to. So, make travelling fun and try to walk, ride your bike or take public transport instead of going in the car every now and then.
5. Say no to palm oil
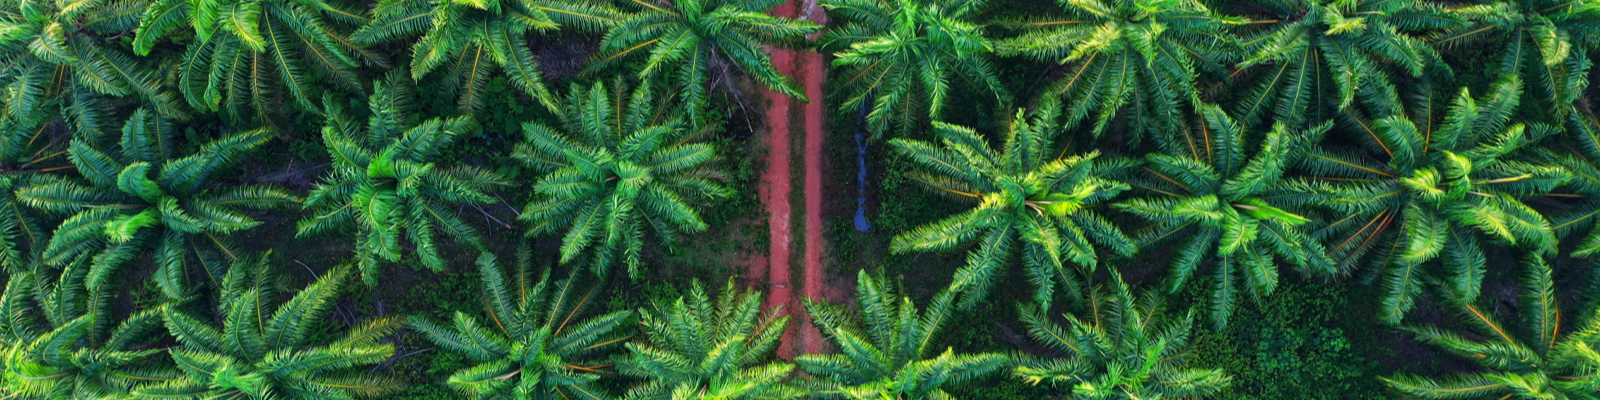 We all love biscuits, but unfortunately, some biscuits still use palm oil that is not sustainably sourced and rainforests are being destroyed to make way for plantations. So, when you go to the shops, ask your little ones to look out for the sustainable palm oil logo before you put some biccies in the trolley.
So, there you have it. Our fun conservation activities to do with kids as well as some useful tips to help them live a more sustainable life. You can learn more about conservation at Knowsley Safari and get involved at home or during your next visit.